The Ultimate Guide to Mirror Installation for Glass and Glazing
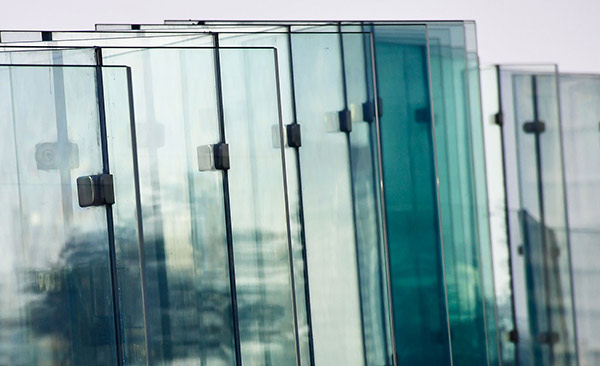
When it comes to home décor, mirrors are considered one of the most functional and versatile accessories you can use. From making a space feel larger to reflecting light and adding visual interest, all while being easy on the eyes, the possibilities of using mirrors in your home are endless. However, it’s their installation that can be tricky, especially if you want to achieve a professional-looking finish. Here’s your ultimate guide to mirror installation for glass and glazing.
First things first, measure your space and your mirror – The key to a successful mirror installation is preparation. Measure the width and height of the space in which you want to place the mirror. Then, measure the mirror itself to ensure it fits seamlessly within that space. If your mirror is too large, you may need to have it professionally cut to your desired size. Additionally, you’ll need to decide whether you want to use glass clips or adhesive to hold your mirror in place.
Choose the right adhesive – If you decide to use an adhesive to hold your mirror in place, choose one that’s designed for mirrors. Mirror mastic or mirror adhesive are the most suitable ones for this purpose. They’re safe to use with all types of mirrors and will offer a strong and secure hold. Make sure to follow the manufacturer’s instructions on how to use the adhesive to ensure you get the best results.
Decide on the placement of the mirror – Before you start installing the mirror, decide on the placement and mark it on your wall. You can do this by holding the mirror up to the wall, ensuring it’s level, and drawing a line at the top of the mirror. This will give you a guideline to work with during the installation, making it easier to make sure the mirror is level.
Hang the mirror – Now it’s time to hang the mirror. If you’re using glass clips, first, screw them into the wall where you marked the placement of your mirror. Then, place the mirror on the clips, making sure it’s level. If you’re using adhesive, apply the adhesive to the back of the mirror, making sure to get into the edges and corners. Then, gently press the mirror against the wall, working from the bottom up to avoid air bubbles.
Finish up – Once the adhesive has dried, remove any excess adhesive around the edges of the mirror using a putty knife. If using glass clips, cover them with a decorative cap to give your mirror a professional finish. Avoid using harsh chemicals or cleaners on your mirror, and instead opt for a soft, lint-free cloth and warm water.
Conclusion
By following these simple steps, you can achieve a professional-looking mirror installation that’s both functional and visually appealing. Remember, preparation is key, so take your time and measure everything accurately. Whether you’re using glass clips or adhesive, be sure to choose the right products designed for mirrors. Finally, enjoy your newly installed mirror and all the benefits it brings to your space.
Related Post

Caulking Melbourne – Services Provided
Caulking Melbourne occurs when a layer of materials called an impenetrable membrane coating is applied [...]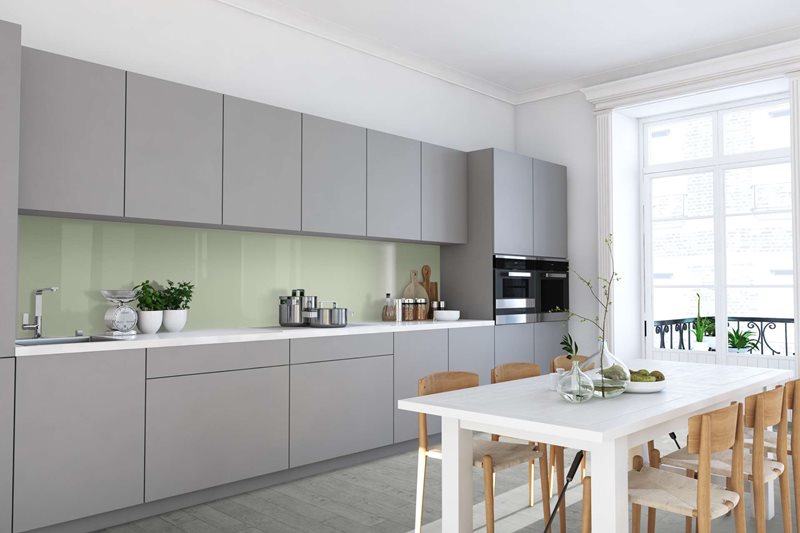
Melbourne Splashbacks: Transforming Kitchens with Style and Function
In the world of kitchen design, Melbourne stands out as a city that effortlessly blends [...]